If you’ve ever tried adding more objects to an already-generated image inside Sheets, you’ve probably seen it happen.
Details start to degrade.
Text becomes less sharp.
Materials lose realism.
Scale starts to feel slightly off.
The problem usually isn’t the model.
It’s how we’re editing the image.
When you repeatedly edit the same generated image in Sheets, each new generation compresses and reinterprets the last one. Over time, clarity drops. Fine detail gets re-rendered again and again. And the image slowly loses precision.
It’s not a capability issue.
It’s a workflow issue.
So we redesigned the workflow.
This method works for interiors, beauty setups, fashion styling, food scenes, retail displays, or any situation where multiple objects need to exist in the same frame at correct scale.
Here’s the structure.
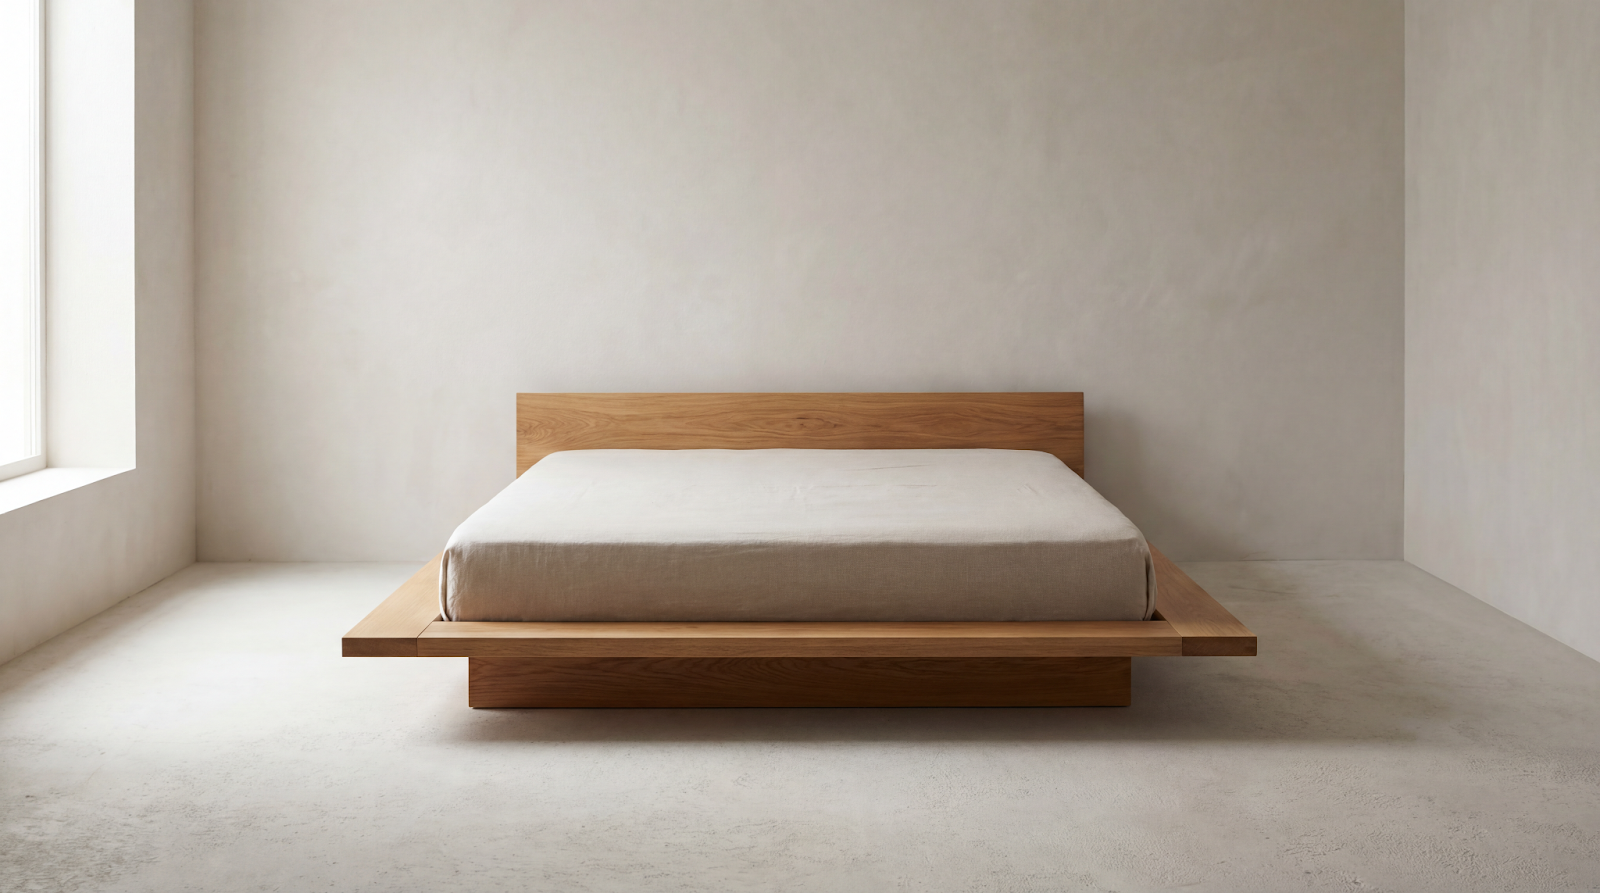
Step 1: Lock the Foundation
Start with a clean base image.
This could be:
• A room
• A vanity table
• A tabletop
• A beach scene
• A studio backdrop
Lock in:
Perspective
Lighting direction
Camera height
Hero product position
Do not start layering everything at once.
Composition first. Decoration later.
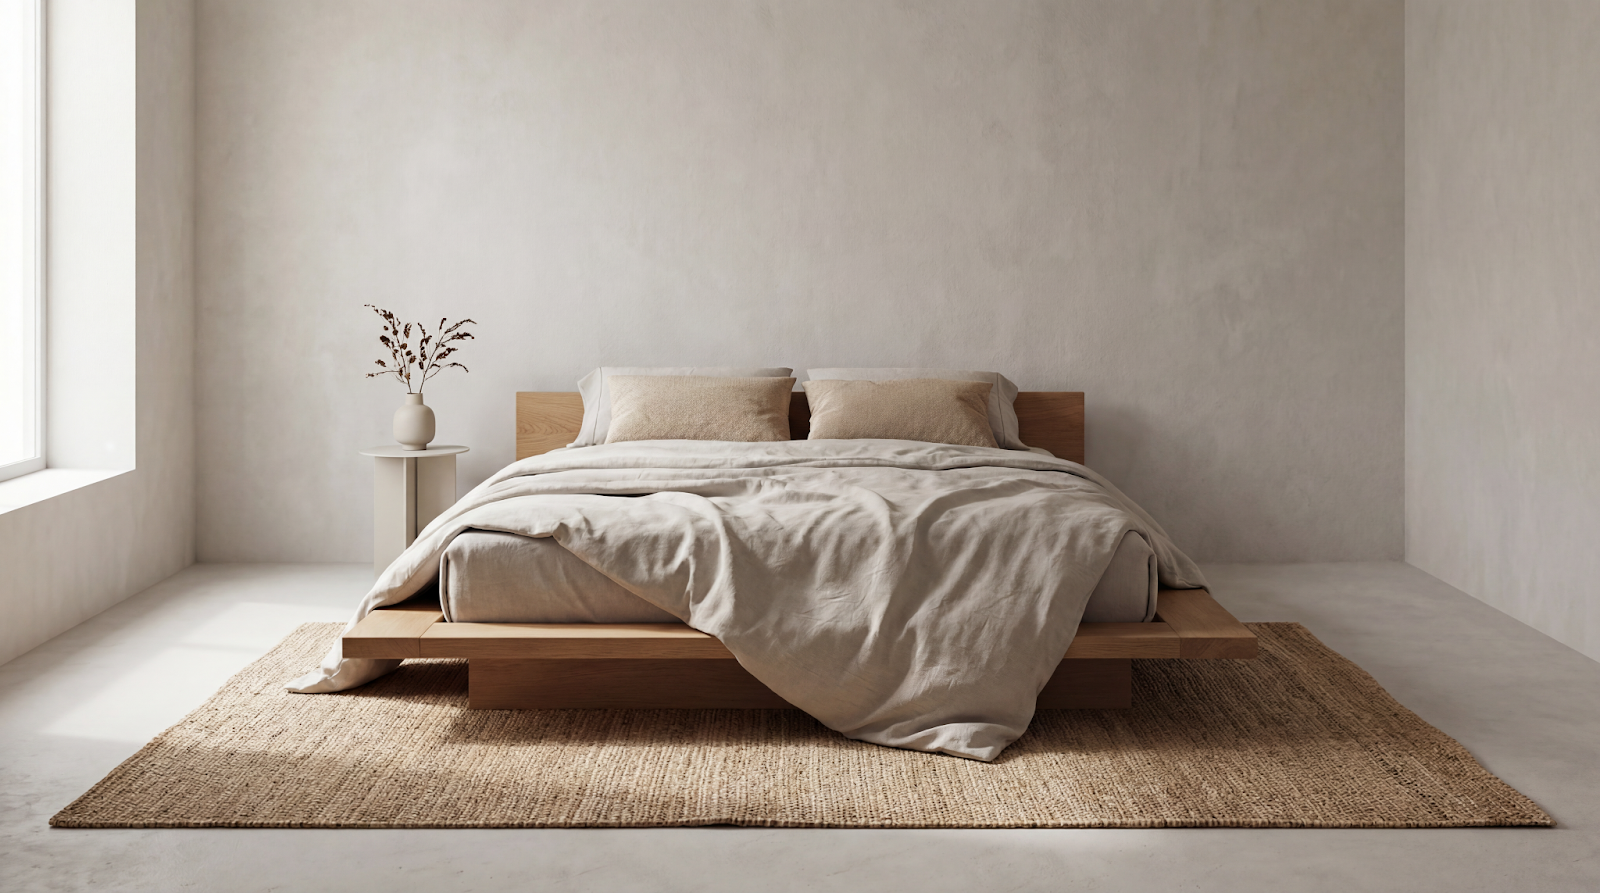
Step 2: Add Elements in Controlled Layers
Use the Deco Agent
Agent ID: cdb37fb2-3dc6-412d-b2b3-b3747a734fac
This agent allows you to add 2–3 products at a time around your hero object while preserving quality.
Blankets.
Pillows.
Cosmetics.
Shoes.
Plates.
Keys.
Accessories.
Always include:
Keep the image 4k + [aspect ratio]
Example:
Keep the image 4k + 4:5
Using explicit resolution prevents the “Sheet softening” issue.
Iterate within the same agent chat. Refine scale before adding more.
Small controlled additions beat one massive prompt.
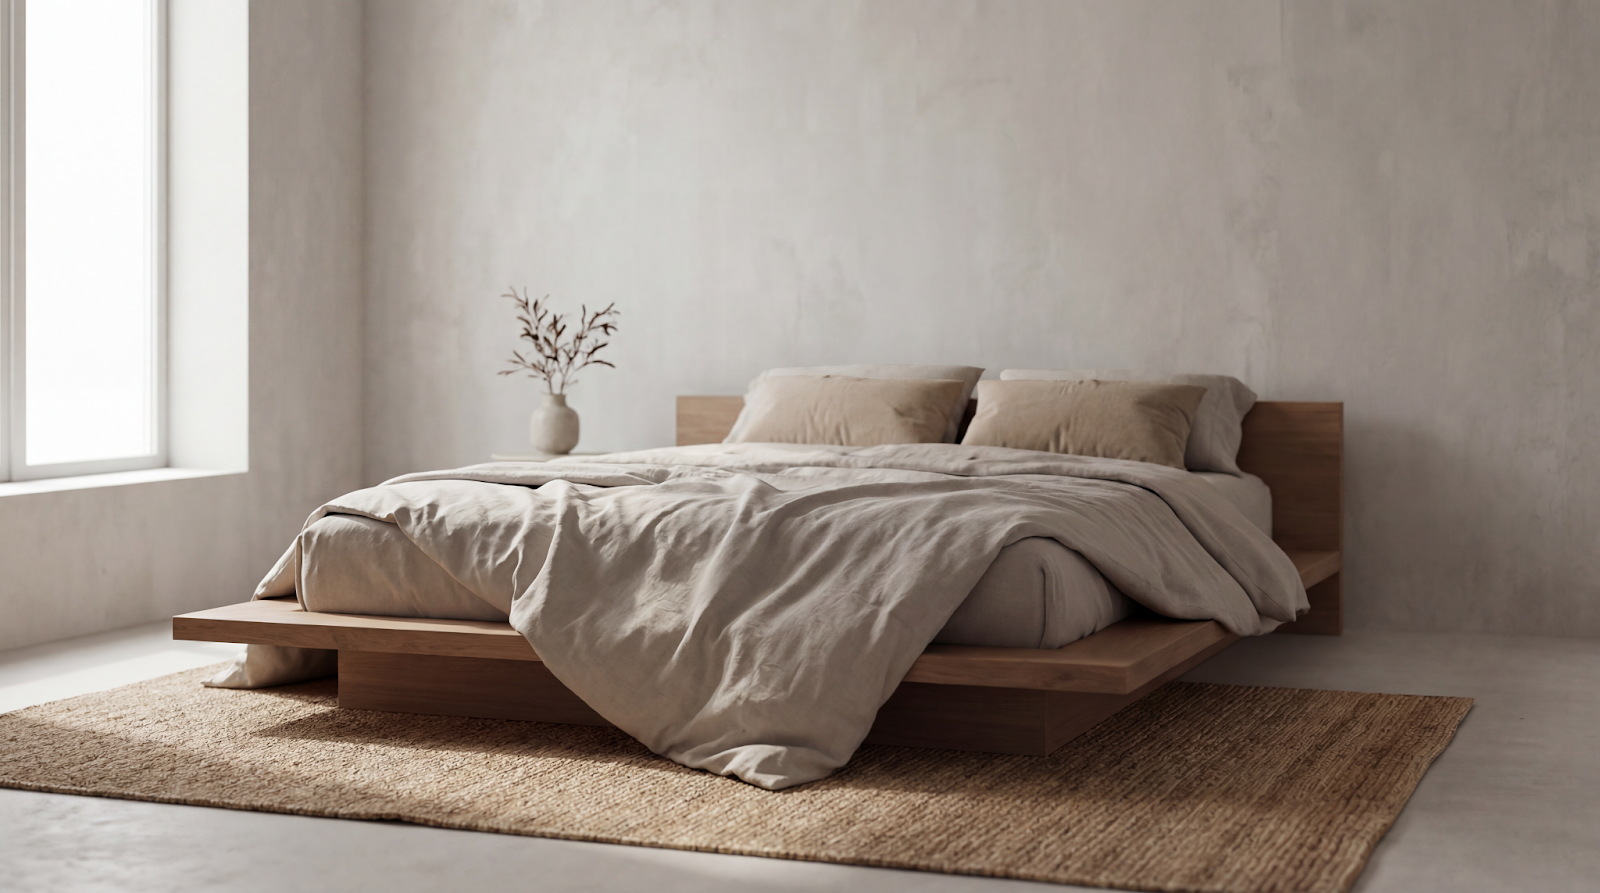
Step 3: Generate New Angles Without Rebuilding the Scene
Use the Beauty Shot Agent
Agent ID: 01354926-4024-412d-8f32-521299e4381d
Upload your styled scene.
This agent:
• Identifies the hero product
• Maintains environmental consistency
• Generates new camera angles
• Preserves layout integrity
Again:
Keep the image 4k + [aspect ratio]
Now you’re not re-layering.
You’re shooting variations.
It’s the difference between re-decorating a room and changing the camera position.
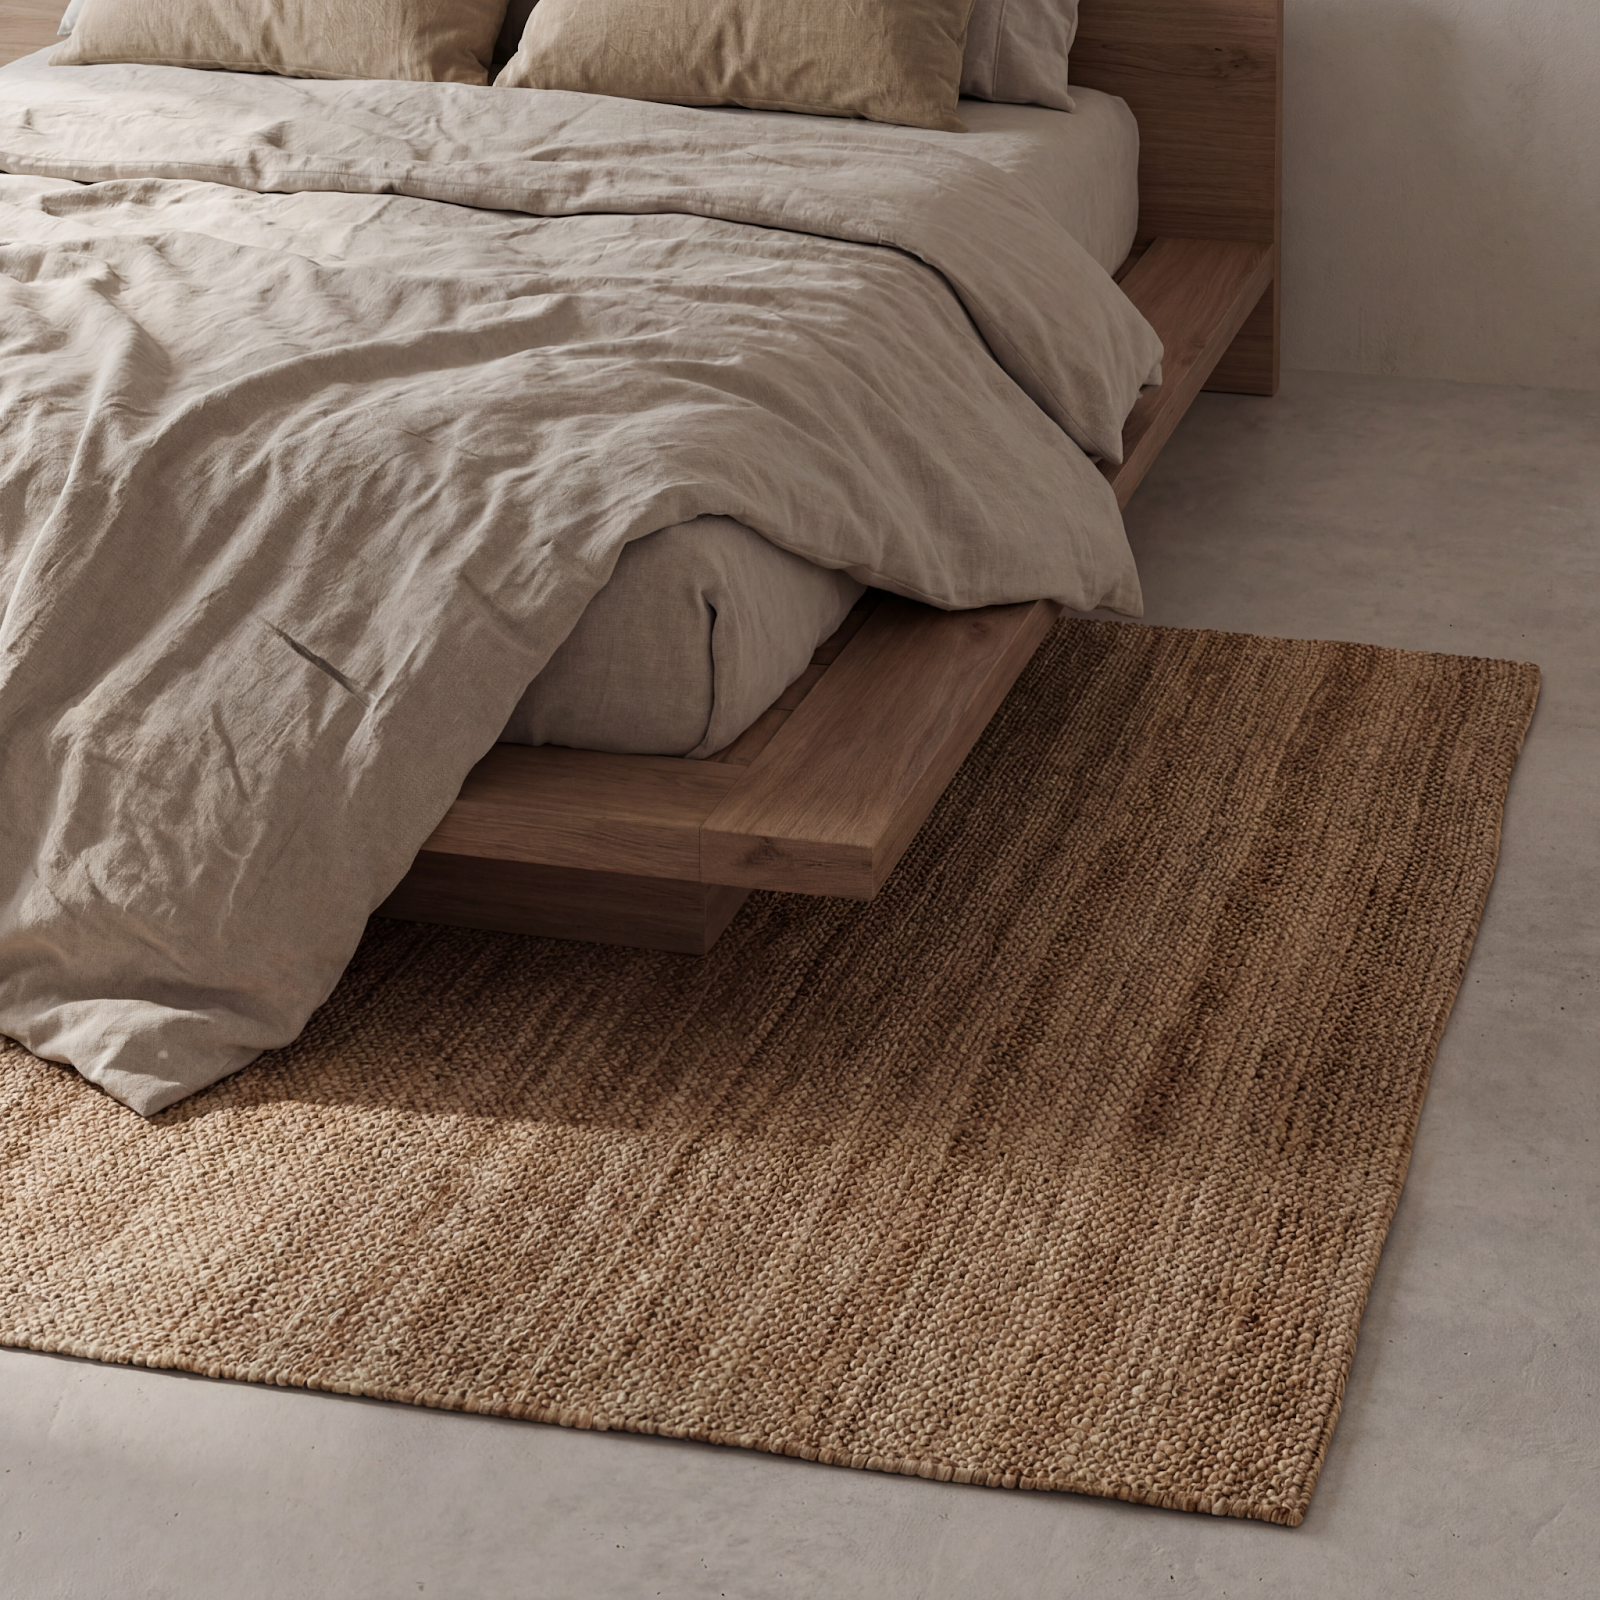
The Universal Workflow
Base Scene
→ Controlled Styling
→ Angle Exploration
→ Optional Enhancement
Instead of:
Generate → Edit → Edit → Edit → Quality Collapse
This structure works for:
Interior campaigns
Beauty hero shots
Fashion product placements
Food styling
Lifestyle product ads
Multi-SKU ecommerce
Retail rollouts
Anywhere scale + consistency matter.
The Real Lesson
Quality loss usually isn’t a model problem. It’s a workflow problem.
Once you separate: Foundation, Styling, Angles. You stop fighting the system and start orchestrating it. That’s how you scale 50 images. Or 270. Without watching your pixels slowly melt.